Pitco Fryer Troubleshooting Manual: A Comprehensive Guide
This manual provides essential guidance for diagnosing and resolving issues with Pitco fryers, ensuring optimal performance and longevity.
It covers electrical, heating, temperature control, and mechanical faults, referencing resources like YouTube troubleshooting videos and official Pitco documentation.
Pitco fryers are a cornerstone in commercial kitchens, renowned for their durability and consistent frying results. However, like any complex equipment, they can experience operational issues requiring prompt attention. This section introduces the fundamentals of Pitco fryer systems and outlines a systematic approach to troubleshooting common problems.
Understanding the fryer’s components – from the heating elements and thermostats to the control panels and filtration systems – is crucial for effective diagnosis. Resources like YouTube offer valuable visual guides for initial assessments, particularly for issues like a fryer not heating.
Effective troubleshooting minimizes downtime, prevents costly repairs, and ensures food safety. Always prioritize safety precautions (detailed in a later section) before attempting any diagnostic or repair procedures. Referencing the fryer’s serial number to determine its manufacture date, as suggested in Pitco documentation, can aid in identifying model-specific issues and accessing relevant manuals.
Understanding Pitco Fryer Models
Pitco offers a diverse range of fryers, each designed for specific commercial needs. Models vary significantly in features, heating methods (electric, gas), and control systems. The Solstice series, for example, represents a modern approach, while older SELVRF models share similarities with standard electric fryers. Recognizing your specific model is the first step in effective troubleshooting.
Serial numbers, as highlighted in Pitco’s documentation, contain a date code indicating the approximate manufacturing date. This information is vital when sourcing parts or consulting model-specific manuals and schematics. Different models employ varying control panel interfaces and error code systems.
Understanding these distinctions is crucial, as troubleshooting steps can differ substantially. For instance, gas fryer ignition problems require a different approach than electrical heating element failures. Always consult the correct manual for your fryer model to ensure accurate diagnosis and repair procedures.
Safety Precautions Before Troubleshooting
Prioritizing safety is paramount when working with Pitco fryers. Always disconnect the fryer from the power source – both electrical and gas supply – before commencing any inspection or repair. Hot oil presents a severe burn hazard; ensure the fryer has cooled completely before handling any components.
Wear appropriate personal protective equipment (PPE), including heat-resistant gloves and eye protection. Be mindful of electrical hazards, and never attempt repairs if you are not qualified. Improperly handled electrical components can lead to shock or fire.
Furthermore, familiarize yourself with the fryer’s safety features, such as the high-limit switch. Never bypass safety mechanisms. If you detect a gas leak, immediately shut off the gas supply and ventilate the area. Consult a qualified technician for any repairs you are unsure about performing safely.
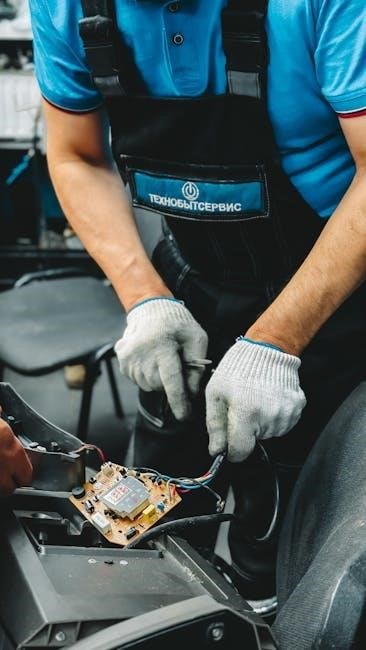
Electrical Issues & Solutions
Addressing electrical problems requires caution. This section details troubleshooting steps for power failures, blown fuses, faulty cords, and control panel malfunctions in Pitco fryers.
Pitco Fryer Not Powering On: Initial Checks
Before diving into complex diagnostics, perform several fundamental checks when your Pitco fryer fails to power on. First, verify the fryer is securely plugged into a functioning electrical outlet; test the outlet with another device to confirm power delivery. Inspect the power cord for any visible damage – cuts, fraying, or exposed wires – and replace it if compromised.
Next, locate the main power switch, often found on the control panel or rear of the unit, and ensure it’s in the ‘ON’ position. Check the circuit breaker dedicated to the fryer; a tripped breaker indicates an overload and requires resetting. Consult the fryer’s serial number to determine its manufacture date, as this can be helpful when referencing specific manuals or schematics. Remember safety first – always disconnect power before any inspection!
Blown Fuses or Tripped Circuit Breakers
Repeatedly blown fuses or tripped circuit breakers are strong indicators of an electrical issue within the Pitco fryer. Locate the fuse box or breaker panel serving the fryer’s circuit. If a fuse is blown, replace it with a fuse of the exact same amperage rating – using a higher amperage fuse is a safety hazard. If the breaker has tripped, reset it by switching it fully off then back on.
However, simply resetting or replacing isn’t a solution if the problem persists. This suggests an underlying fault, such as a short circuit or overload. Investigate potential causes like a malfunctioning heating element or control panel component. Refer to the fryer’s schematic (available through Pitco’s website) for wiring diagrams. If unsure, consult a qualified electrician to diagnose and repair the issue safely.
Faulty Power Cord or Plug
A damaged or improperly connected power cord or plug can prevent the Pitco fryer from receiving power. Begin by visually inspecting the entire length of the cord for any cuts, abrasions, or exposed wiring. Check the plug for bent or broken prongs. Never operate the fryer with a damaged cord; it presents a serious electrical shock hazard.
Ensure the plug is securely inserted into a properly grounded outlet. Test the outlet with another appliance to confirm it’s functioning correctly. If the cord is detachable, try a known-good replacement cord. If the issue persists, or if the cord is permanently attached, professional repair or replacement is necessary. Always disconnect the fryer from power before inspecting or replacing the cord.
Control Panel Issues & Resetting Procedures
If the Pitco fryer’s control panel is unresponsive or displaying errors, several troubleshooting steps can be taken. First, attempt a simple reset by turning the fryer off, disconnecting it from the power source for several minutes, and then reconnecting and powering it back on. This can often resolve minor software glitches.
Consult the fryer’s manual for specific reset procedures, as these can vary between models. Some models may have a dedicated reset button. If the panel remains unresponsive, check for loose connections within the control panel housing (with power disconnected, of course!). If error codes are displayed, refer to the error code section of this manual or the official Pitco documentation for diagnosis. If problems persist, professional service is recommended.

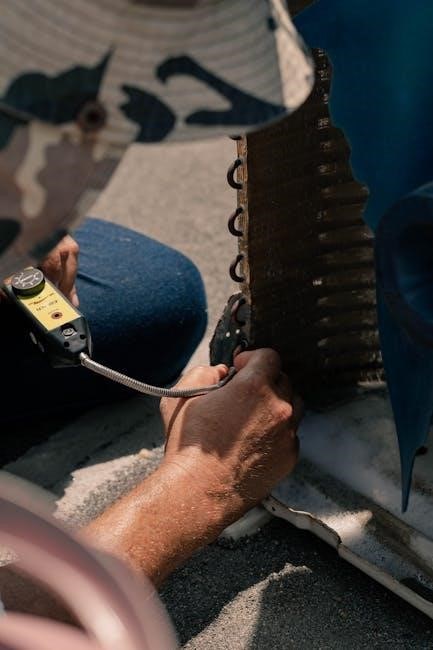
Heating Problems & Resolutions

Addressing fryer heating issues involves checking the thermostat, heating element, and high-limit switch for malfunctions, ensuring safe and efficient operation.
Fryer Not Heating: Thermostat Malfunctions
A Pitco fryer failing to heat often points to a malfunctioning thermostat. This critical component regulates oil temperature, and its failure prevents the heating element from activating. Initial checks involve verifying the thermostat’s calibration and ensuring it’s correctly sensing the oil temperature. Use a calibrated thermometer to compare readings; discrepancies indicate a potential thermostat issue.
To diagnose further, visually inspect the thermostat for any signs of damage, such as cracks or corrosion. A multimeter can test for continuity, confirming if the thermostat is sending a signal to the heating element. If the thermostat lacks continuity, replacement is necessary. Remember to disconnect power before any inspection or repair. Proper thermostat function is vital for consistent frying and preventing overheating, ensuring food safety and fryer longevity.
Heating Element Failure & Replacement
If a Pitco fryer isn’t heating despite a functioning thermostat, a failed heating element is a likely culprit. These elements degrade over time due to constant use and thermal stress. Visually inspect the element for breaks, blisters, or signs of burnout – these are clear indicators of failure. Use a multimeter to test for continuity across the element; a lack of continuity confirms it needs replacing.
Replacing a heating element requires disconnecting power and carefully removing the old element, noting its configuration. Ensure the new element is the correct replacement part for your specific Pitco model. Install the new element securely, following the manufacturer’s instructions, and double-check all connections before restoring power. Proper installation is crucial for safe and efficient operation, preventing further damage and ensuring consistent heating performance.
High Limit Switch Activation & Troubleshooting
The high limit switch is a critical safety feature in Pitco fryers, designed to prevent overheating and potential fire hazards. If activated, the fryer will shut down, refusing to heat. Common causes include excessive oil temperature, a malfunctioning thermostat, or restricted airflow around the fryer. Before resetting, identify and address the root cause – simply resetting without fixing the issue will lead to repeated shutdowns.
To troubleshoot, verify the oil level is correct and the thermostat is functioning properly. Ensure the fryer has adequate ventilation. Once the fryer has cooled completely, locate and reset the high limit switch (refer to your model’s manual for its location). If the switch continues to trip, it may be faulty and require replacement. Ignoring a repeatedly tripping high limit switch is dangerous and could result in a fire or damage to the fryer.
Gas Fryer Ignition Problems (If Applicable)
If your Pitco gas fryer fails to ignite, several factors could be at play. Begin by verifying the gas supply is turned on and reaching the unit. Check the pilot light – if extinguished, follow the manufacturer’s instructions for relighting, typically involving pressing and holding the pilot button while igniting; A faulty gas valve is a common culprit, preventing gas flow to the burner.
Inspect the igniter itself; a weak spark or no spark indicates a failing igniter needing replacement. Also, examine the burner for clogs or debris obstructing gas flow; Ensure the flame sensor is clean and properly positioned to detect the flame. If the sensor is dirty or misaligned, it won’t signal the control system, preventing sustained operation. Always consult a qualified technician for gas appliance repairs if you’re uncomfortable performing these checks.

Oil Temperature & Control Issues
Addressing inaccurate readings and control problems requires checking sensors, calibrating the controller, and ensuring proper oil levels for consistent frying performance.
Inaccurate Oil Temperature Readings
Diagnosing inaccurate oil temperature readings in a Pitco fryer requires a systematic approach. First, verify the temperature sensor is correctly positioned and free from debris or damage. A faulty sensor will transmit incorrect data to the control panel, leading to temperature discrepancies.
Next, inspect the wiring connecting the sensor to the controller; loose connections or corroded wires can disrupt the signal. Consider environmental factors – drafts or significant ambient temperature changes can influence readings.
If the issue persists, proceed to calibrate the temperature controller according to the manufacturer’s instructions. This process adjusts the controller’s interpretation of the sensor’s signal, aligning it with a known accurate temperature. Regularly checking and maintaining the oil level is also crucial, as low oil levels can affect temperature stability and sensor accuracy. Finally, consult the Pitco fryer’s troubleshooting guide for model-specific recommendations.
Temperature Controller Calibration
Calibrating the temperature controller is vital for ensuring accurate oil temperature in your Pitco fryer. This process compensates for sensor drift or inaccuracies, aligning the displayed temperature with a verified reading. Begin by accessing the calibration menu within the controller’s interface – consult your specific model’s manual for detailed instructions, as procedures vary.
Use a calibrated thermometer to measure the actual oil temperature independently. Input this value into the controller, instructing it to adjust its internal settings.
Repeat this process several times, verifying the accuracy after each adjustment. Ensure the fryer is at a stable operating temperature during calibration. Improper calibration can lead to undercooked or overcooked food, and potentially unsafe operating conditions. If you encounter difficulties, refer to Pitco’s official documentation or seek assistance from a qualified technician.
Oil Level Sensors & Their Function
Pitco fryers utilize oil level sensors to monitor and maintain the correct oil volume, preventing damage to heating elements and ensuring safe operation. These sensors typically employ float switches or capacitive technology to detect the oil level within the fryer vat. When the oil level drops below a predetermined threshold, the sensor signals the control system to either alert the operator or automatically shut down the fryer.
Troubleshooting involves verifying sensor functionality with a multimeter, checking wiring connections for corrosion or damage, and ensuring the sensor isn’t obstructed by debris.
A faulty sensor can cause inaccurate readings or prevent the fryer from operating. Replacement sensors should be Pitco-approved to guarantee compatibility and performance. Regular inspection and cleaning of the sensor area are crucial for reliable operation.

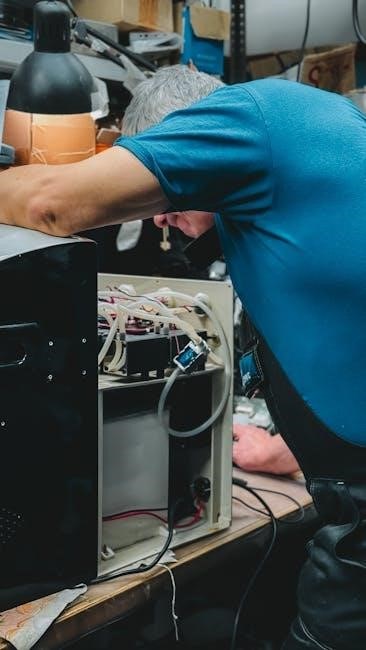
Operational & Mechanical Faults
Addressing issues like basket mechanism failures and drain valve blockages is vital for consistent operation. Regular filter maintenance prevents performance decline and ensures food quality.
Fryer Basket Mechanism Issues
Troubleshooting the fryer basket mechanism often begins with a visual inspection. Check for any obvious obstructions, such as food particles or debris, that might be hindering smooth operation. Ensure the lift mechanism – whether a handle, motor, or cable system – moves freely without binding.
If the basket is difficult to lower or raise, lubricate the moving parts with a food-grade lubricant. Examine the cable (if applicable) for fraying or damage, replacing it if necessary. For motorized systems, verify the motor is receiving power and isn’t overheating.
A common issue involves the basket locking mechanism failing to engage or disengage properly. Inspect this component for wear or misalignment. If the basket consistently slips or feels unstable, professional repair or component replacement may be required to maintain safe and efficient operation.
Drain Valve Problems & Blockages
Addressing drain valve issues is crucial for maintaining fryer hygiene and preventing operational disruptions. Begin by verifying the drain valve is fully closed before refilling with oil. If the fryer won’t drain, suspect a blockage. Never attempt to force the valve open, as this could cause damage.
First, disconnect power to the fryer. Carefully remove any visible debris around the valve opening. A specialized fryer cleaning tool or a stiff brush can help dislodge stubborn blockages. For more significant obstructions, a hot water flush (after oil removal) might be necessary.
Inspect the valve itself for corrosion or damage. A faulty valve may require replacement. Regularly scheduled cleaning and preventative maintenance, including oil filtration, significantly reduces the risk of drain valve blockages and ensures efficient operation.
Filter System Maintenance & Troubleshooting
Maintaining a clean filter system is paramount for extending oil life and ensuring food quality. Regularly scheduled filter changes, following Pitco’s recommendations for your specific model, are essential. A clogged filter restricts oil flow, impacting frying performance and potentially damaging the fryer.
If the filter system isn’t functioning correctly, check for a full filter bag or cartridge. Ensure proper seating of the filter components. Inspect the filter housing for any cracks or leaks. A damaged housing compromises filtration effectiveness.
For persistent issues, verify the pump (if equipped) is operating correctly. A weak or failing pump won’t provide adequate suction. Consistent filter maintenance prevents oil degradation, reduces off-flavors, and contributes to the overall longevity of your Pitco fryer.
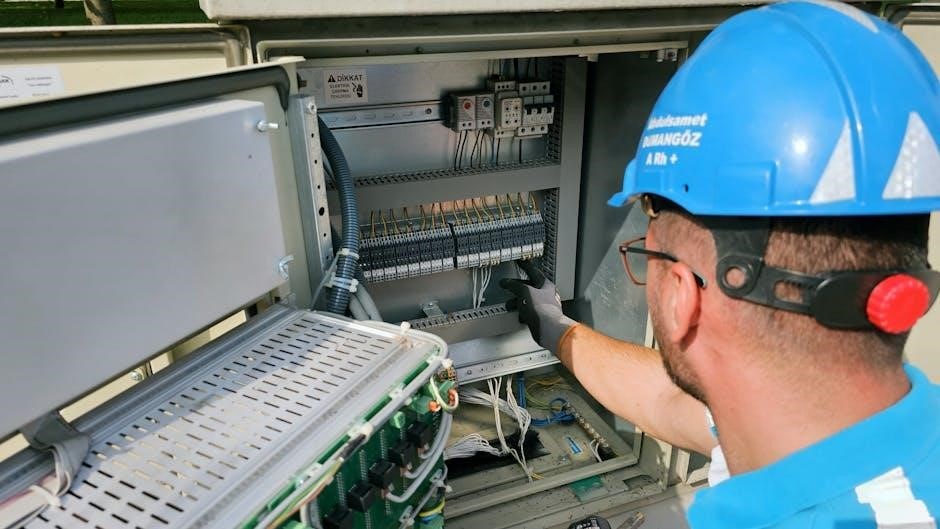
Advanced Troubleshooting & Resources
Decoding Pitco error codes and accessing official manuals and schematics are crucial for complex repairs, alongside online support and expert assistance.
Reading Pitco Fryer Error Codes
Pitco fryers utilize error codes to pinpoint specific malfunctions, streamlining the troubleshooting process. These codes, displayed on the control panel, represent a range of issues from sensor failures to heating element problems. Understanding these codes is paramount for efficient repair. Refer to your specific fryer model’s manual – accessible through Pitco’s website (http://www.pitco.com) – as code definitions vary.
Common codes might indicate a temperature sensor malfunction, a high-limit switch activation, or a problem with the gas ignition system (for gas fryers). A serial number date code helps identify the fryer’s manufacturing date, aiding in manual selection. Documenting the error code before attempting any repairs is vital. If the manual is unavailable, contacting Pitco’s support directly can provide code interpretations and guidance. Remember safety first – disconnect power before any internal inspection.
Locating Pitco Fryer Manuals & Schematics
Accessing the correct documentation is crucial for effective Pitco fryer troubleshooting and repair. The primary resource is Pitco’s official website (http://www.pitco.com), where a comprehensive library of manuals and schematics is typically available for download; You’ll likely need your fryer’s model and serial number – the serial number also contains a date code indicating manufacture date – to locate the precise documentation.
These resources detail component locations, wiring diagrams, error code explanations, and parts lists. If the website search proves unsuccessful, contacting Pitco’s customer support directly can yield assistance. Online forums dedicated to commercial kitchen equipment may also host shared manuals. Always prioritize using official Pitco documentation to ensure accuracy and safety when performing any maintenance or repairs. Proper schematics are essential for diagnosing electrical issues.