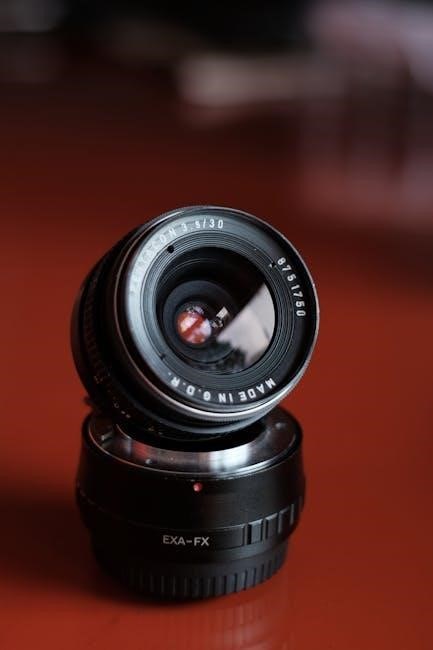
Canon FX Repair Manual: A Comprehensive Guide
This detailed manual offers comprehensive repair guidance, covering general information, disassembly, electrical components, and parts sourcing for the Canon FX camera.
The Canon FX represents a significant achievement in camera technology, demanding specialized knowledge for effective repair. This section introduces the intricacies of the Canon FX, outlining its key features and potential issues encountered during servicing. Understanding the camera’s design – from its manual settings and controls to its battery and power management systems – is crucial before attempting any repairs.
Repairing the Canon FX requires a methodical approach, utilizing the detailed service manual as a primary resource. This guide will navigate technicians through disassembly, troubleshooting, and reassembly procedures. Common repair areas include lens and aperture mechanisms, viewfinder adjustments, and focusing system calibration. Furthermore, familiarity with sourcing essential spare parts and utilizing appropriate service tools is paramount for successful outcomes. Proper handling and adherence to safety precautions are vital throughout the repair process.
Understanding the Canon FX Service Manual Structure
The Canon FX Service Manual is meticulously organized into six distinct sections to facilitate efficient repair procedures. The ‘General’ section provides foundational information about the camera’s operation and specifications. Following this, the ‘Repair Manual’ details comprehensive disassembly and reassembly instructions, accompanied by detailed diagrams.
The ‘Repair Guide’ offers targeted troubleshooting steps for specific malfunctions, while the ‘Service Tools List’ outlines the necessary equipment for effective servicing. A crucial component is the ‘Price List of Spare Parts’, enabling accurate cost estimation for repairs. Finally, the ‘Service Manual Report’ section provides documentation procedures. Navigating this structure allows technicians to quickly locate relevant information, ensuring a streamlined and accurate repair process. Understanding this organization is key to maximizing the manual’s utility;
General Information and Safety Precautions
Prior to commencing any repair on the Canon FX, thoroughly review the user manual to understand the camera’s intended function and operational characteristics. Always disconnect the power source – remove the battery – to prevent electrical shock and potential damage to sensitive components. Exercise extreme caution when handling small screws and parts, as these are easily lost or misplaced.
Static discharge can severely harm electronic circuitry; utilize a grounded wrist strap throughout the repair process. Ensure a clean, well-lit workspace to maintain visibility and prevent contamination. Be mindful of delicate connectors and ribbon cables, avoiding excessive force during disconnection or reconnection. Proper handling of the lens is crucial to prevent damage to the optical elements. Adherence to these safety precautions will minimize risks and ensure a successful repair.
Disassembly and Reassembly Procedures
Detailed step-by-step guides facilitate careful Canon FX disassembly and reassembly, ensuring proper component placement and functionality for successful camera restoration.
Canon FX Camera Overview: Key Components
The Canon FX camera comprises several crucial components essential for its operation and repair. Understanding these elements is paramount before initiating any service procedure. Key areas include the lens assembly, responsible for image formation, and the aperture mechanism, controlling light intake. The viewfinder system, vital for composition, requires precise adjustment.
Furthermore, the focusing system ensures image sharpness, while the battery and power management circuitry deliver consistent energy. Electrical connections, including contact points, must be inspected for integrity. The camera body itself, housing these components, features numerous small screws and parts – often requiring a specialized assortment for repair.
Detailed knowledge of these components, alongside their interaction, is fundamental. Manual settings and controls, alongside the body and lens details, are critical for diagnostics. Proper identification of each part facilitates efficient troubleshooting and replacement, ultimately restoring the Canon FX to optimal working condition.
Disassembly Guide: Step-by-Step Instructions
Disassembling the Canon FX requires meticulous attention to detail. Begin by removing the camera’s base cover, carefully noting the location of all screws – an assortment of very small screws is typical. Next, detach the rear cover, disconnecting any ribbon cables with appropriate tools. Proceed to separate the top cover, exercising caution around the viewfinder assembly.
Subsequently, carefully disconnect the lens assembly, paying attention to aperture linkage. The focusing system should then be disassembled, documenting each step. Remember to disconnect the battery and power management components before proceeding further;

Throughout the process, maintain a clean workspace and organize parts systematically. Refer to detailed diagrams within the service manual. If encountering resistance, re-examine the procedure; forced disassembly can cause damage. Proper documentation is crucial for successful reassembly, ensuring all components are correctly positioned and secured.
Reassembly Guide: Ensuring Proper Functionality
Reassembling the Canon FX demands precision and adherence to the disassembly notes; Begin by reconnecting all ribbon cables and electrical components, ensuring secure connections. Carefully reattach the battery and power management systems, verifying correct polarity. Next, reinstall the focusing system, meticulously aligning all parts.
Reattach the lens assembly, confirming proper aperture linkage functionality. Secure the top, rear, and base covers, using the documented screw locations. After reassembly, perform a manual aperture ring test to verify correct operation and focus checking.
Thoroughly test all camera functions – viewfinder, focusing, and power – before final closure. A VATECH-authorized agent’s maintenance standards should be the goal. If issues arise, revisit the disassembly steps for potential errors. Proper reassembly guarantees optimal performance and longevity.

Specific Repair Areas & Troubleshooting
This section details focused repairs for lenses, viewfinders, and the focusing system, offering troubleshooting steps to resolve common Canon FX operational issues.
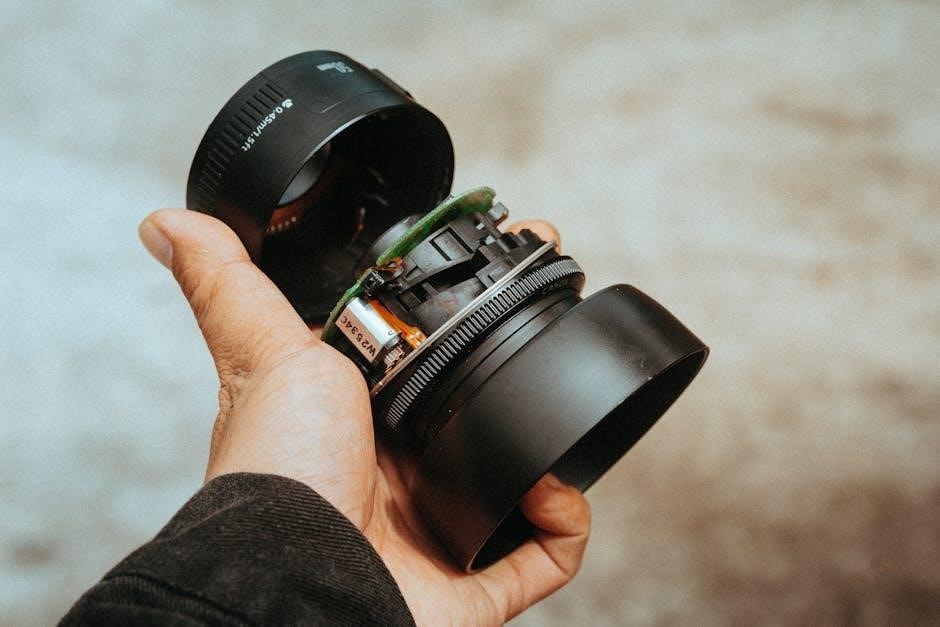
Lens and Aperture Repair

Addressing lens and aperture malfunctions within the Canon FX requires meticulous attention to detail. A common issue involves fixing the aperture to a pre-set value, crucial for accurate focus checks. This diagnostic procedure ensures proper light transmission and image clarity. When encountering repairs on FX or FP models, specifically those assembled with a particular body, securing screw X91-173012 in designated holes is paramount, regardless of light leak presence.
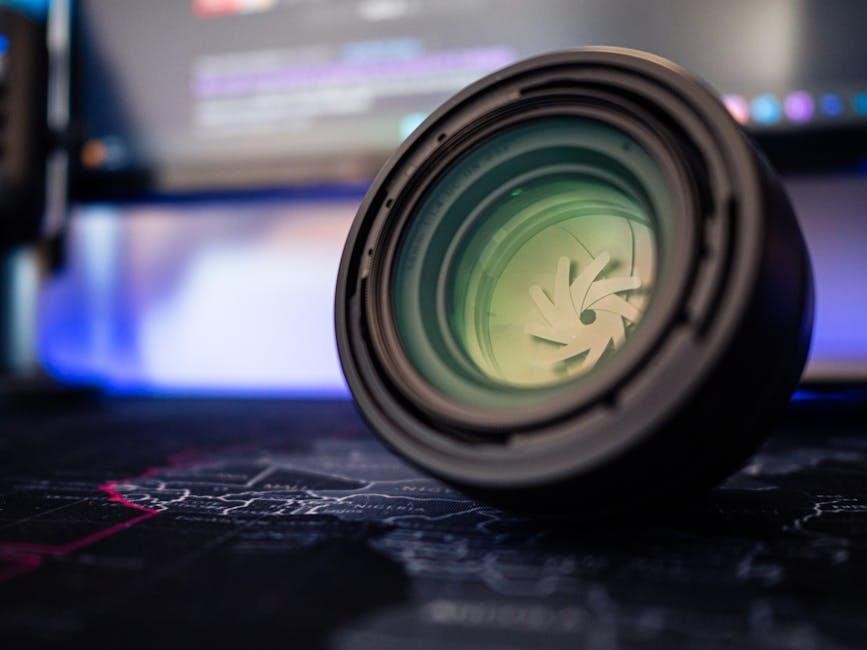
Troubleshooting often begins with inspecting the aperture blades for damage or obstruction. Cleaning and lubricating these blades can restore smooth operation. Furthermore, verifying the functionality of the aperture control mechanism is essential. If the aperture ring feels stiff or unresponsive, internal components may require cleaning or replacement. Remember to consult detailed parts lists, like those for the EOS 3 accessory, to identify and source necessary replacement parts for optimal repair outcomes.
Viewfinder Adjustment and Repair
The Canon FX viewfinder, while seemingly simple, demands precise adjustment for optimal performance. Brightness and backlight settings are key parameters often requiring manual adjustment to achieve a clear and comfortable viewing experience. Though specific pixel details aren’t readily available, ensuring the screen’s clarity is vital. Troubleshooting typically involves checking the internal alignment of the optical components.
Disassembly should be approached cautiously, as delicate parts are present. Inspect for dust or debris obstructing the view. If the viewfinder image is distorted or dim, consider recalibrating the focusing screen. Always refer to the user manual before attempting any adjustments. Proper maintenance, performed by a VATECH-authorized agent, ensures longevity and accurate operation. Remember, user-induced damage isn’t typically covered under warranty.
Focusing System Troubleshooting and Repair
Accurate focusing is paramount in the Canon FX, and issues can stem from mechanical misalignment or electronic faults. When manually adjusting the aperture ring, verifying the pre-set lens aperture is crucial for focus checks. If focus appears consistently off, begin by inspecting the lens mount for any looseness or damage. Carefully examine the internal focusing rails for smooth operation; any binding indicates a potential mechanical problem.
For cameras returning for repair, particularly FX or FP models, ensure screw X91-173012 is securely fastened to prevent light leaks. Calibration of the focusing screen may also be necessary. Remember to document all steps during disassembly and reassembly. A systematic approach, combined with the service manual’s guidance, will facilitate efficient and accurate repairs, restoring the camera’s focusing precision.
Electrical Components & Connections
This section details battery and power management systems, alongside contact point and electrical connection repair procedures for the Canon FX camera.
Battery and Power Management Repair

Addressing battery issues within the Canon FX requires meticulous attention to detail. Begin by verifying battery contacts for corrosion or damage, cleaning them gently with isopropyl alcohol if necessary. Inspect the battery terminal connections on the camera’s main board, ensuring secure and proper soldering.
Power management circuitry often involves voltage regulators and power distribution ICs; these components should be tested for correct output voltages using a multimeter. A faulty regulator can lead to inconsistent power delivery or complete camera failure.
Troubleshooting power-related problems also includes checking the power switch itself for continuity and proper function. Examine the wiring harness connecting the battery to the camera, looking for breaks or shorts. Always prioritize safety when working with electrical components, disconnecting the battery before any internal inspection or repair work is undertaken. Refer to the schematic diagrams within the service manual for precise voltage readings and component locations.
Contact Points and Electrical Connection Repair
Maintaining reliable electrical connections is crucial for Canon FX functionality. Begin by carefully inspecting all contact points – battery terminals, lens mount connections, and internal connector pins – for corrosion, dirt, or physical damage. Use a specialized contact cleaner to remove any contaminants, ensuring a clean surface for optimal conductivity.
Faulty ribbon cables are a common issue; check for tears, kinks, or loose connections. Reseat the ribbon cables firmly, and replace them if damaged. Solder joints on the main board should be examined under magnification for cracks or cold solder joints, reflowing them as needed.
Pay close attention to the lens mount contacts, as these are prone to wear and tear. Use a multimeter to test continuity across all relevant pins, identifying any breaks in the circuit. Proper grounding is essential; verify that all grounding points are secure and free from corrosion to prevent electrical interference and ensure stable operation.

Parts List and Sourcing
Locating replacement parts for the Canon FX requires a detailed parts list and reliable sourcing channels, including specialized camera repair suppliers and online marketplaces.
Essential Spare Parts for Canon FX Repair
Maintaining a stock of essential spare parts is crucial for efficient Canon FX repair. Common failures necessitate readily available components like aperture control cables, light seals, and various screws – specifically, screw X91-173012, often used during body reassembly to prevent light leaks.
Furthermore, diaphragm blades, focusing screen components, and contact switch sets are frequently required. Electrical repairs often demand replacement of capacitors, resistors, and occasionally, the entire power board. Lens elements, while less common, may need replacement if damaged. A comprehensive assortment of small screws, typical in camera repair, is also indispensable.
Don’t overlook the importance of readily available battery terminals and connectors. Having these parts on hand minimizes downtime and ensures a swift, professional repair service for the Canon FX.
Sourcing Canon FX Replacement Parts
Finding replacement parts for the Canon FX can be challenging due to its age, requiring resourceful sourcing strategies. Online marketplaces specializing in vintage camera parts are a primary resource, offering a wide selection from various vendors. Dedicated camera repair shops often maintain a stock of commonly needed components or can source them through their networks.
Exploring auction sites can yield valuable finds, but requires careful inspection of part condition. Canon’s official service channels, while potentially more expensive, guarantee genuine parts. Consider dismantling non-functional Canon FX cameras for spare parts – a cost-effective approach for frequently failing components.
Always verify part compatibility before purchasing and prioritize reputable suppliers to ensure quality and avoid counterfeit items. A VATECH-authorized agent may also be a source.
Tools Required for Canon FX Repair
Successful Canon FX repair demands a specialized toolkit beyond basic screwdrivers. A precision screwdriver set, including various sizes and types (Phillips, flathead), is fundamental for delicate disassembly and reassembly. Plastic opening tools prevent damage to the camera’s housing during separation of components.
Magnification, such as a loupe or microscope, is crucial for inspecting small parts and connections. Multimeter is essential for testing electrical components and continuity. An assortment of small screws and parts, typically used in camera repair, is highly recommended.
Isopropyl alcohol and lint-free swabs aid in cleaning contacts and removing corrosion. Static wrist strap protects sensitive electronics from electrostatic discharge. A parts organizer keeps components secure and prevents loss during the repair process.